Three Ways to Decorate a tree with Ribbon I love the holidays and I love…
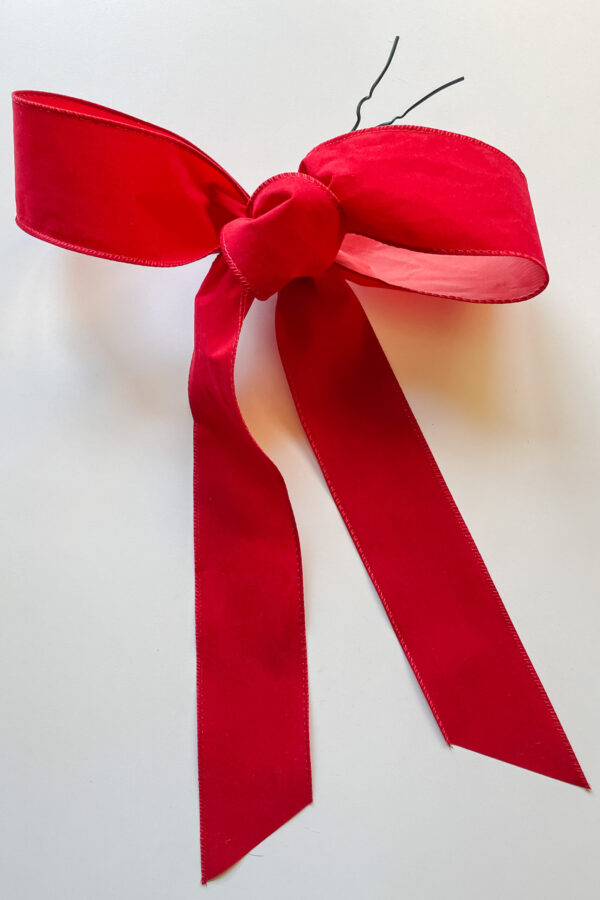
How to Make a Bow Tree Topper
This is how to make a bow tree topper!
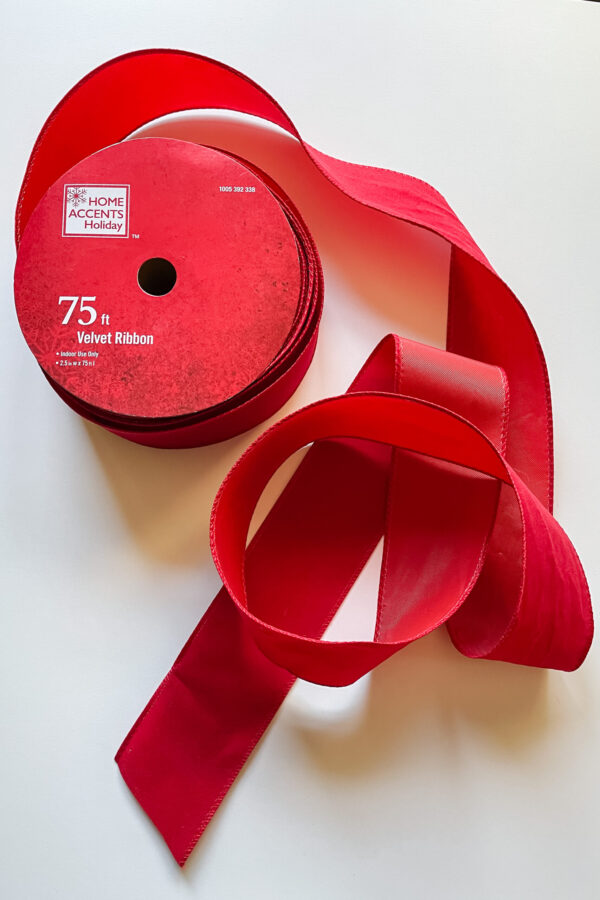
Step 1: Get Ribbon
The type of ribbon you will want to get will depend entirely on the style of the bow that you want to make. If you want a bow that holds its shape, try to find a ribbon you love that has wire on the outside edges. You will find that this feature makes a world of difference when making a bow.
If you’d like a floppier bow, no need to look for ribbon. However, if you’d like yours to be a bit more organic in shape but you have ribbon with wire in it, no need to look for another kind of ribbon. Just pull the wire out!
10 Different Styles & Types of Ribbon:
Ribbon with wire:

Ribbon without wire:

Sheer Ribbon:

Velvet Ribbon:

Patterned Ribbon:

Satin Ribbon:

Burlap Ribbon:

Ribbon with Gold back:

Canvas/Cotton Ribbon:

Sheer Patterned Ribbon:

Step 2: Get Cloth Covered Wire
This is a game changer when it comes to making bows! (& Holiday decorating in general). It’s wonderful, the cloth makes it so that the wire doesn’t slip when you are working with it, which is a huge advantage. and it is very useful as well to hang/wire ornaments to your tree. You can find the cloth covered wire here:

Step 3: Leave Room for the Tails
This is the tricky thing, you can always cut the tails shorter, but once they are cut you can’t go back. Give yourself a little room so that you can decide if you like them long or short.
Not sure if you like ribbon tails long or short? Leave them long, put the bow the on the tree once it’s made and then decide. It’s much easier to decided something you can actually see.
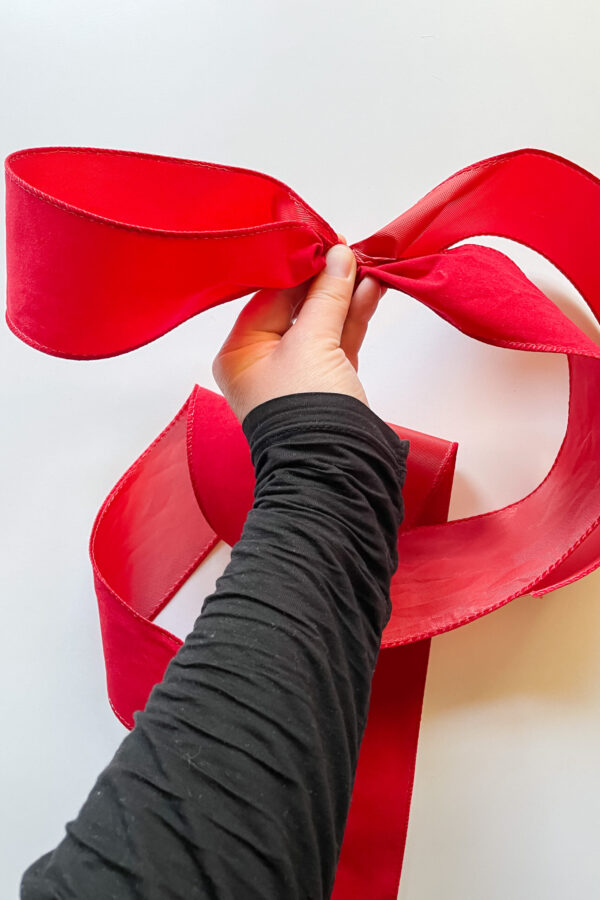
Step 4: Twist the Ribbon into Loops
This video shows how to do this! And the best part about this method is that you can layer the loops for a fuller bow! Or you can do a multi layered bow with different textures, colors, and panters of different ribbons!
*This is the choose your own adventure part of the bow tutorial. Want more loops? Keep repeating the previous loop steps until you have a bow tree topper just as big as you want it! If you’d like it more simple, keep going to the next step!
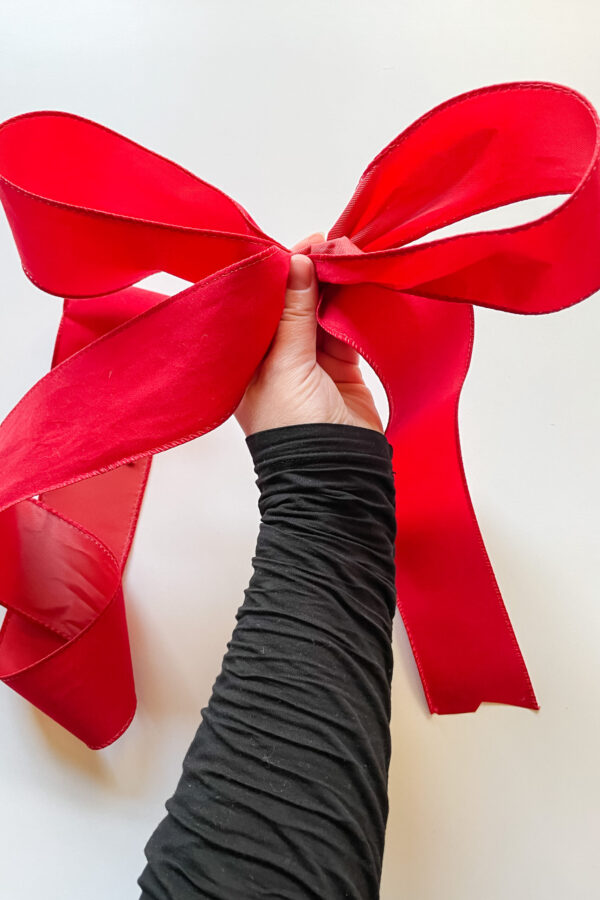
Step 5: Small loop for the center
This step finishes off the bow so nicely! To me a bow is incomplete without its center.
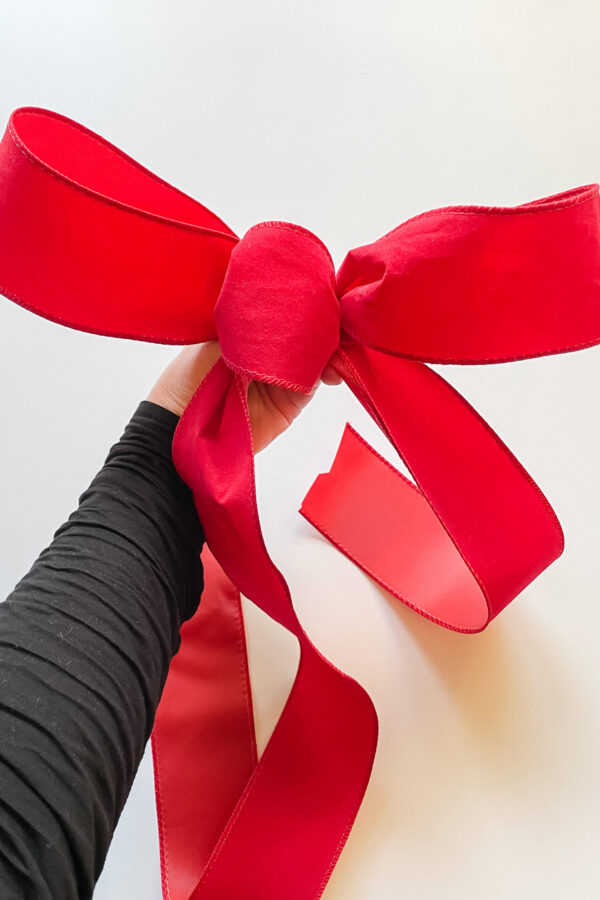
Step 6: Leave room for second tail
I’ve always found that it is best to leave extra room for the tails that way you have room to play with the length of the tails. You can always cut them shorter, but you can’t lengthen the ribbon once you cut it.
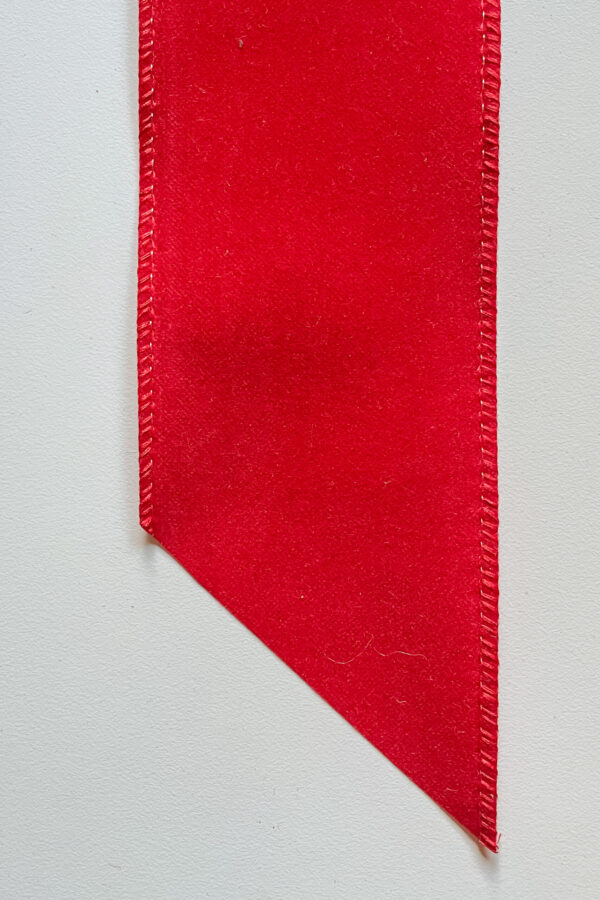
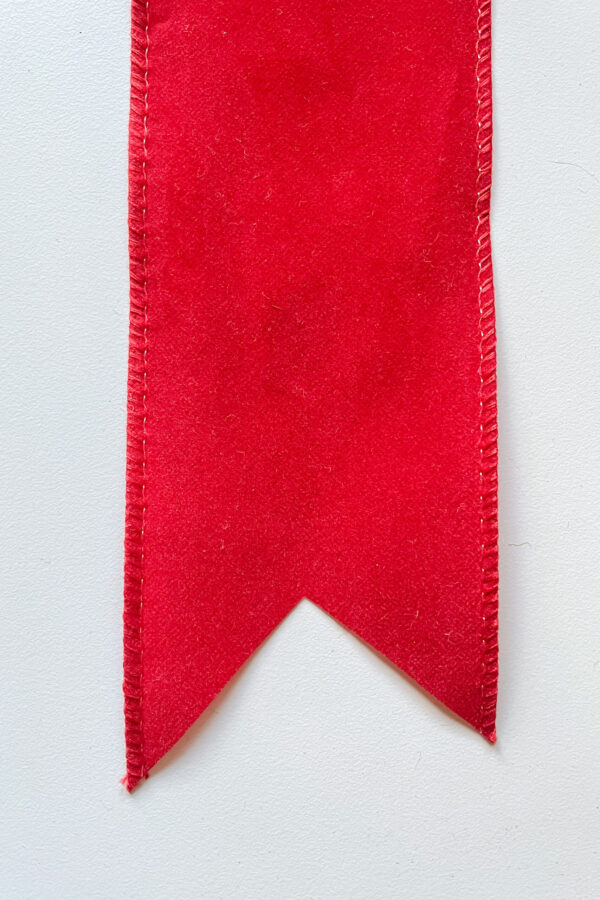
Step 7: Cut Tails as desired
The are two main ways to do this. On and angle or in a V. You choose which one speaks to your heart!
Step 8: Wire Bow Topper To the Top of your Tree
Again, this is where the cloth covered wire comes in handy. Just do a nice little twist at the top of your tree and you are good to go.
Now you have a beautiful Tree Topper! Pat yourself on the back for learning a new skill, and sit back and enjoy the finishing touch to your tree.
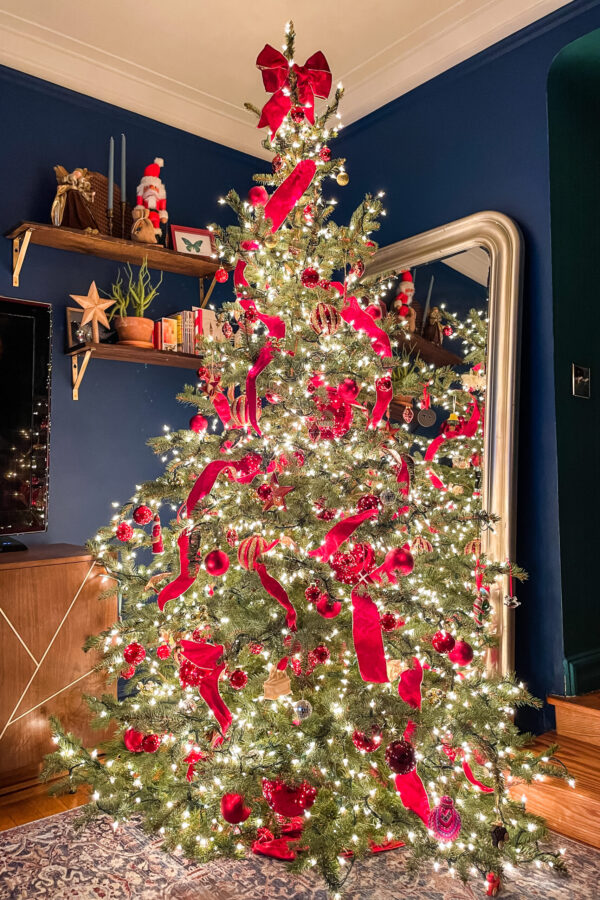
Can you spot the rouge pink ornament that my toddler insisted be right up front! Haha, my favorite little bit of Christmas magic. Happy Holidays!
xx
Emily
PS- If you enjoyed this post, you may also like this one, How to Ribbon your Tree, 3 Ways