I love flowers! And I love to have a bouquet of them in my house…
How to Wrap a Bouquet of Flowers Perfect Every Time
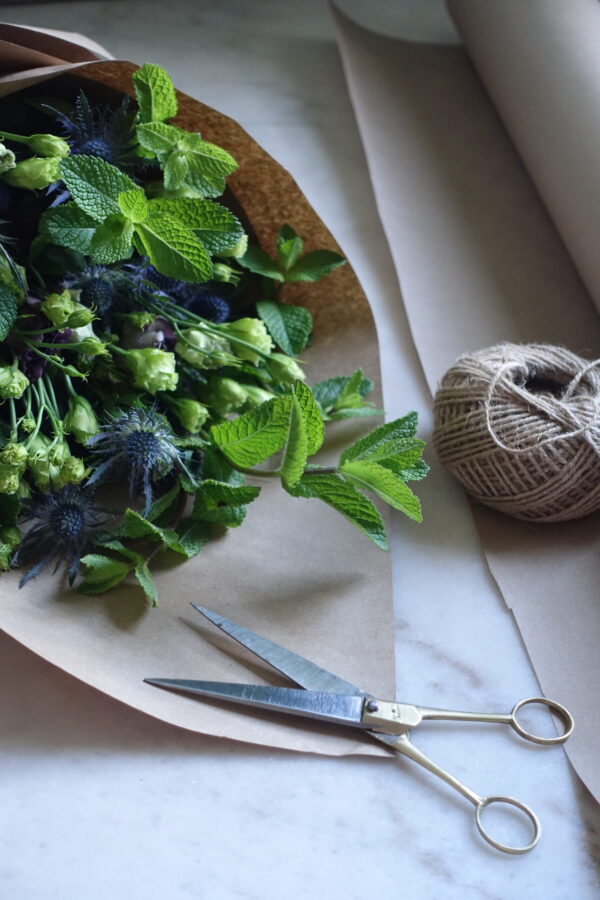
Flowers are the perfect gift! And they don’t need to be arranged. I often find myself gifting a simple wrapped bouquet of flowers. And if you learn how to wrap a bouquet of flowers properly, they can make even grocery store flowers look fancy.
Here are two no fail ways on how to perfectly wrap a bouquet of flowers. These step by step instructions are simple, easy, and have big impact!
RE-WRAP THE FLOWER BOUQUET!
May I tell you a secret? The thing that bothers me the most about grocery store flowers… the packaging! Nothing will give away the source of those beautiful flowers faster than the packaging. There is nothing wrong with getting your flowers from the grocery store, in fact I do all the time. It’s brilliant that you can pick up some flowers at the same time you are picking up ingredients for dinner.
But may I tell you another secret? One thing that up levels flowers faster than anything else? The packaging! First impressions matter. Even with flowers. So get rid of that plastic store bought packaging and give your flowers a little face lift!
PERFECTLY WRAPPED FLOWER BOUQUETS MUST HAVE SUPPLIES
Don’t be intimidated. Learning how to wrap a flower bouquet perfectly is all a matter of having just a few supplies. Many you may already have, and if you don’t have brown craft paper at home. It’s a great, inexpensive, and versatile (ie: you can wrap more than flowers with it!). And once you get the brown craft paper in your supplies, you wont’ be able to stop using it. It’s that good!
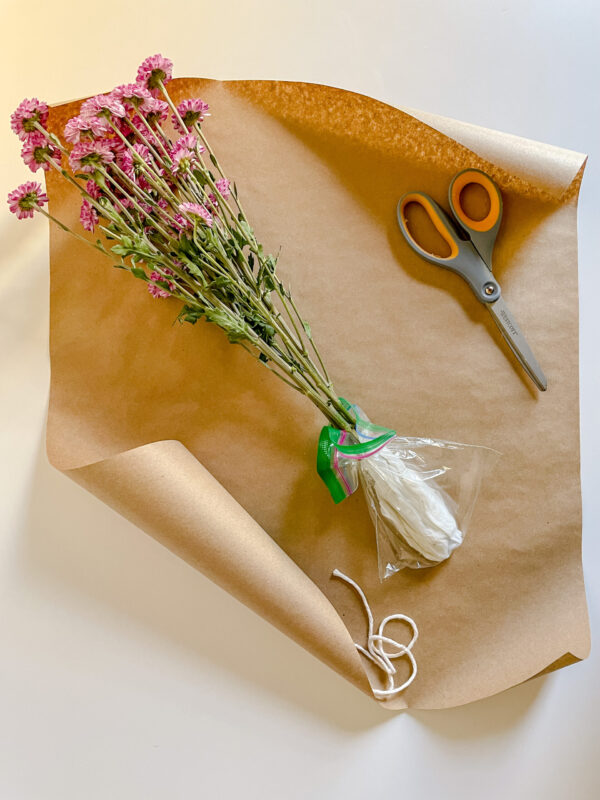
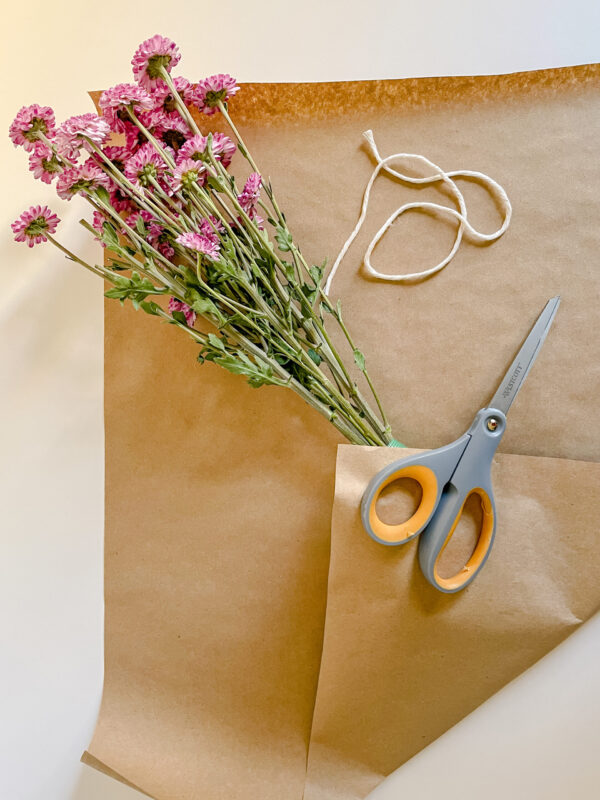
How to wrap flower bouquets & the must have supplies:
- Brown Craft Paper
- Twine or String
- Scissors
- Ziplock Bag
- Rubber Band
- Paper Towels
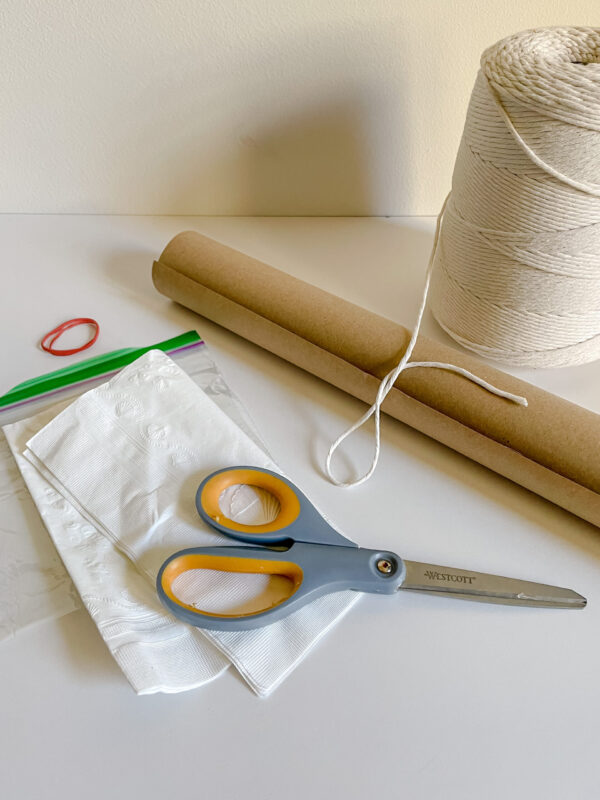
If you are leaving your stems exposed, you will only need the first three items on the list. But if you’d like to keep your stems fresh but concealed you’ll need to add the last three items from the list as well.
TO WRAP THE STEMS OR TO NOT WRAP THE STEMS?
Let’s talk timing. How long are these flowers going to be out of water? Is the person you are gifting them going to be home? Are you giving to them at a restaurant or party? The longer you can keep the flowers in water the better and fresher the flowers will be.
If you anticipate a vase full of water will be close by, don’t wrap the stems. I think that a bouquet with the stems exposed is so lovely and natural looking.
If it is going to be a while till the flowers can “have a good drink” as my 3 year old likes to say, wrap the stems. But, you will want to first follow my tips below to keep the stems wet while in transit.
STEP BY STEP TO A PERFECTLY WRAPPED FLOWER BOUQUET
This is an easy, no fail, perfect every time way to wrap your flowers. Follow these steps and you will know how to wrap a bouquet of flowers perfectly.
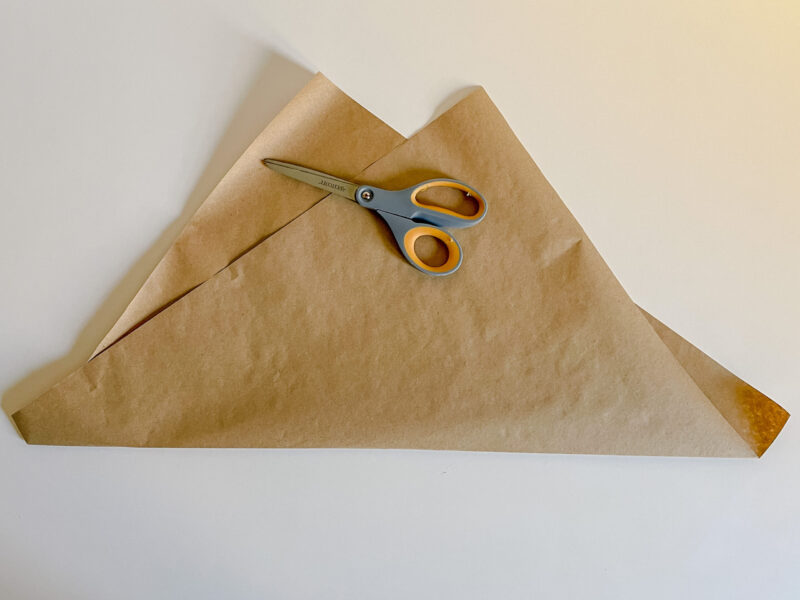
STEP #1: FOLD SECTION OF CRAFT PAPER SO YOU HAVE TWO “MOUNTAINS”
Cut a section of craft paper about 3 times the width of your flower bouquet. Than fold the paper in half so that it looks like you have two “mountains”.
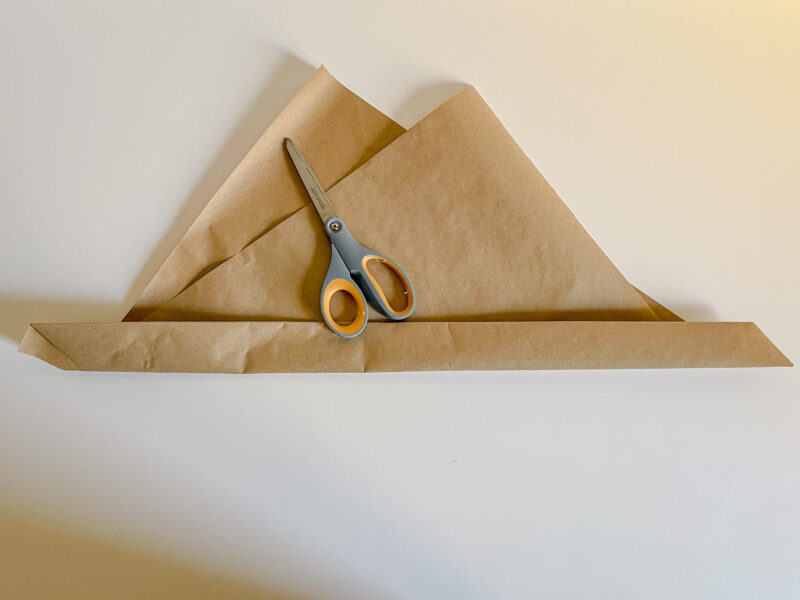
STEP #2: FOLD THE BOTTOM UP ABOUT AN INCH OR SO
This step does two things. It provides a bit more body once you wrap the paper around the bouquet, and it reinforces the bottom of the wrap around the stems.
STEP #3: PLACE YOUR FLOWERS IN THE CENTER OF THE PAPER
Quickly eyeball the wrap at this point to make sure that it is wide enough to go all the way around your flower bouquet. Also, make sure that you remove all the leaves from the stems of your flowers.
Taking the leaves off your stems does two things. First, it makes the bouquet look cleaner. And second, it will extend the life of the flowers. No leaves should ever be below the water line in a vase. That quickly breeds bacteria, and will shorten the lives of the gorgeous blooms. For more tips on how to lengthen the life of your flowers, click here.

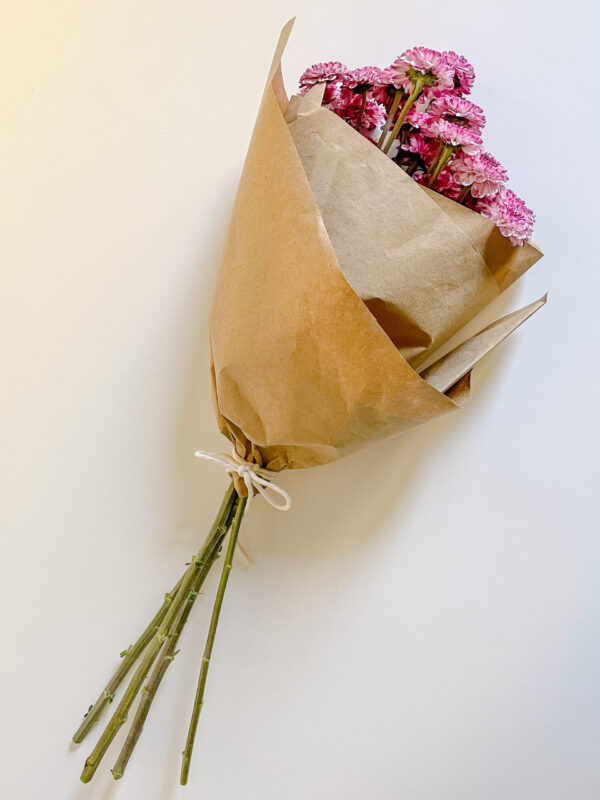
STEP #4: WRAP THE PAPER AROUND THE BOUQUET & TIE OFF WITH STRING
After you wrap the brown paper around the flowers, hold onto the bouquet and paper with one hand. Then take use your other hand to wrap the string around the bouquet several times and then tie it off.
You can either knot the twine or string or tie it into a bow, whatever your personal preference is. And tadah! Now you know how to wrap a bouquet of flowers with the stems exposed perfect every time!
WRAPPING A BOUQUET & THE STEMS
STEP #1: HYDRATE THOSE STEMS A BIT
At one Upper East Side shop I worked at in the city, we had these fancy little floral eco wraps that held water for wrapped bouquets. But all you really need is a few damp paper towels. I was out of paper towels when I took these photos, so I used some paper napkins.
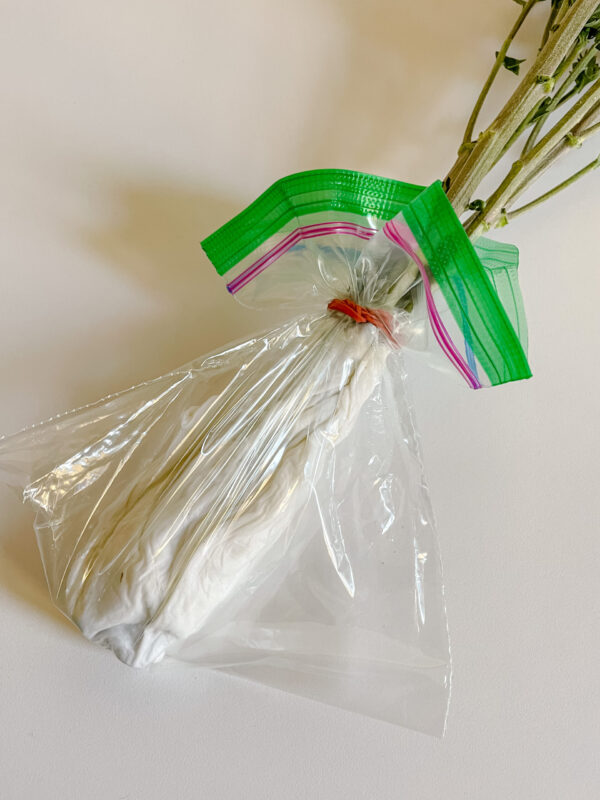
Place the damp paper towels around the stems of the flowers, and then place the stems into a ziplock bag. Then wrap the rubber band around the stems and roll up to the top of the ziplock bag.
Here is a close up pick of the damp paper towels wrapped around the stems of the flowers, placed in the bag, and tied off with the rubber band.
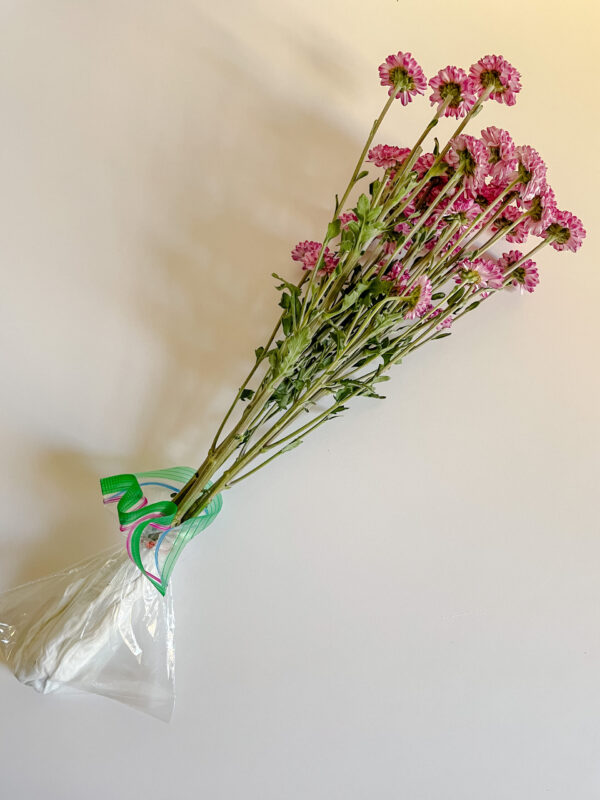
STEP #2: PLACE THE FLOWERS DIAGONALLY ON THE CRAFT PAPER & CUT
By placing the flowers directly onto the craft paper it is easier to see just how much paper you will need to wrap the bouquet. The craft paper I used is 18 inces wide. And I find this to be the perfect width for all of my flower wrapping needs.
STEP #3: FOLD UP THE CORNER OF THE PAPER TO COVER THE HYDRATION BAG
Hiding your hydration mechanics is the first step to a good first impression with this bouquet of flowers.
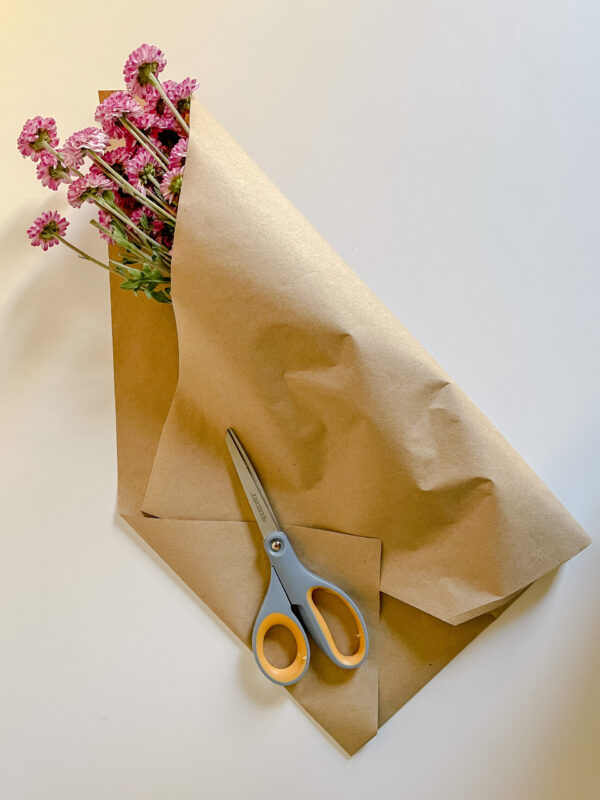
STEP #4: FOLD OVER EACH SIDE OF THE PAPER
Fold over each side of the brown paper to cover the stems of your flowers. I also Like to do a mini triangle fold on the second side so That I have a clean sharp edged. See the picture below.
STEP #5: AND TIE OFF WITH STRING
I like to hold my bouquet with one hand, and wrap the string around the the bouquet several times with the other hand.
Tie off with a knot or a bow, either works well! Just depends on what you prefer.
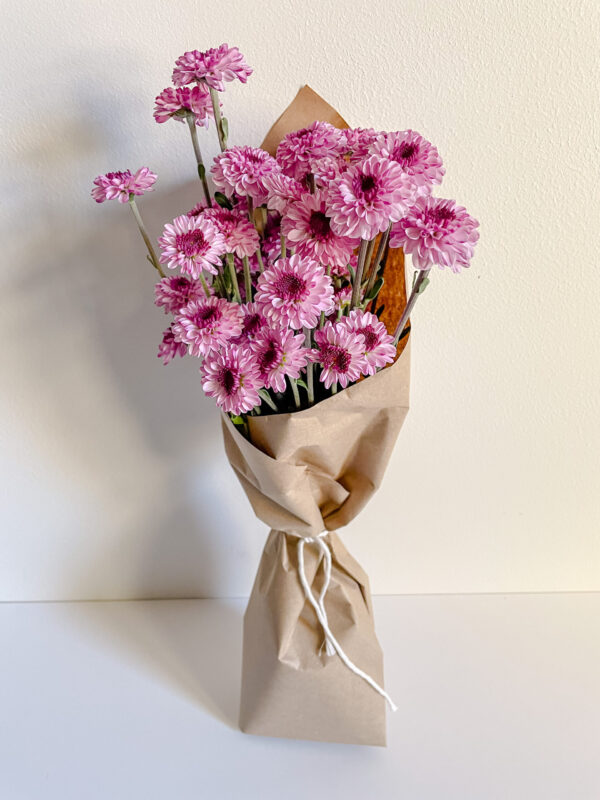
That’s all you need to make this sweet little bunch of mums looking good! Just a little bit of brown craft paper, some string, paper towels, ziplock bag, and a rubber band. Never before have grocery store flowers looks so dang good!
xo
Emily